

Diving Deep: How to Implement In-App Purchases Like a Pro

Diving Deep: How to Implement In-App Purchases Like a Pro

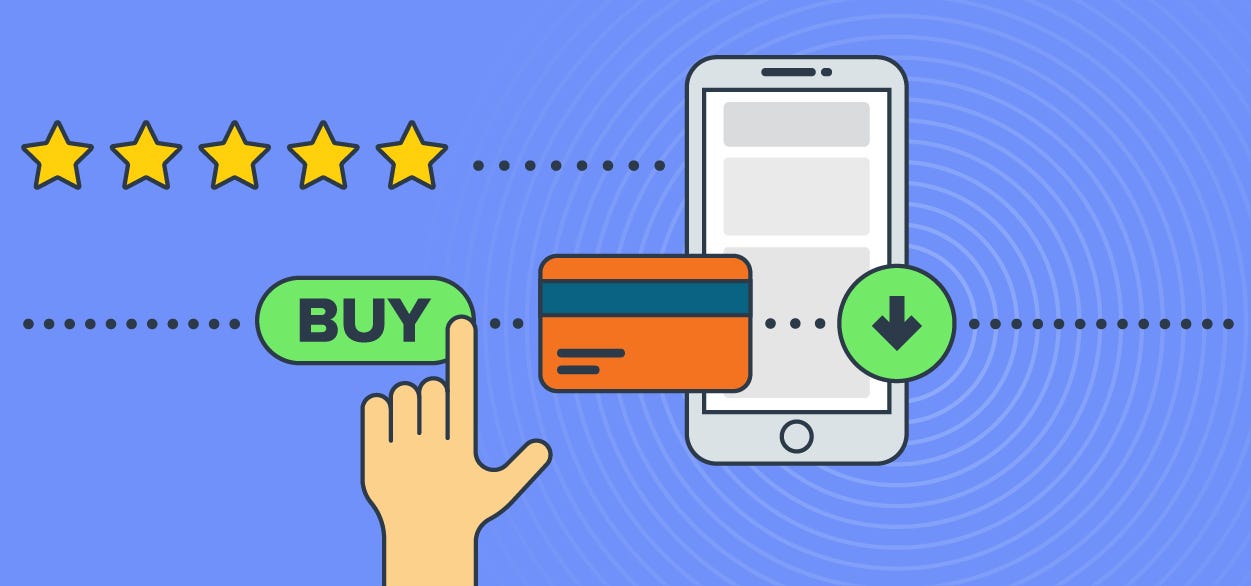
In-app purchases (IAPs) have become a cornerstone of the mobile app economy, offering a direct route to monetization and enhanced user engagement. Whether you’re building a game, a productivity app, or a content subscription service, IAPs can unlock significant revenue streams. However, implementing them effectively requires careful planning, technical expertise, and a deep understanding of user psychology.

This comprehensive guide will walk you through the process of implementing in-app purchases, covering everything from initial planning to testing and deployment.

1. Defining Your IAP Strategy: What to Offer and Why

Before diving into code, you need a solid strategy. Consider these key questions:

  • What types of IAPs will you offer?
    • Consumables: Items that can be purchased multiple times and used up (e.g., in-game currency, extra lives).
    • Non-Consumables: Items purchased once and permanently unlocked (e.g., premium features, ad removal).
    • Subscriptions: Recurring purchases that grant access to content or services for a specific period (e.g., monthly magazine subscription, cloud storage).
  • What value do these IAPs provide to the user?
    • Ensure your IAPs enhance the user experience, rather than feeling like a paywall.
    • Offer clear value propositions for each purchase.
  • How will you price your IAPs?
    • Research competitor pricing and consider your target audience’s spending habits.
    • Use psychological pricing techniques (e.g., $4.99 instead of $5.00).
    • Consider regional pricing differences.
  • How will you present your IAPs to users?
    • Design clear and compelling in-app storefronts.
    • Use persuasive language and visuals.
    • Consider offering introductory discounts or free trials.

2. Choosing Your IAP Implementation Platform

The platform you choose will depend on your app’s target operating systems:

  • iOS (App Store Connect):
    • Apple’s official platform for managing IAPs.
    • Requires integration with StoreKit.
    • Offers robust features for managing subscriptions and promotions.
  • Android (Google Play Billing Library):
    • Google’s platform for managing IAPs on Android devices.
    • Requires integration with the Google Play Billing Library.
    • Provides tools for managing subscriptions, promotions, and deferred payments.
  • Cross-Platform Solutions:
    • If you’re using a cross-platform framework like Unity or React Native, consider using platform-specific plugins or libraries that abstract away the underlying platform APIs.
    • Many plugins abstract the differences between the Google play store, and the apple app store. This can greatly speed up development.

3. Implementing the IAP Flow: A Step-by-Step Guide

The basic IAP flow involves the following steps:

  • Retrieve Product Information:
    • Fetch the list of available IAPs from the respective platform’s servers.
    • Display product names, descriptions, and prices to the user.
  • Initiate Purchase:
    • When the user selects an IAP, initiate the purchase process.
    • The platform will handle payment processing and authentication.
  • Verify Purchase:
    • Crucially, verify the purchase receipt on your server. This prevents fraudulent purchases and ensures data integrity.
    • Use the platform’s server-side verification APIs to validate the receipt.
  • Deliver Content:
    • If the purchase is valid, grant the user access to the purchased content or features.
    • Update the user’s account or game state accordingly.
  • Handle Errors:
    • Implement robust error handling to gracefully handle purchase failures, network issues, and other potential problems.
    • Provide clear error messages to the user.
  • Restore Purchases:
    • Allow users to restore their non-consumable purchases and subscriptions across multiple devices.
    • This is a critical feature for user satisfaction.

4. Server-Side Verification: The Key to Security

Server-side verification is essential for preventing fraud and ensuring the integrity of your IAP system.

  • Why is it important?
    • Client-side verification can be easily bypassed by malicious users.
    • Server-side verification provides a secure and reliable way to validate purchase receipts.
  • How to implement it:
    • Use the platform’s server-side verification APIs to validate purchase receipts.
    • Store purchase information in your server’s database.
    • Implement security measures to protect your server from unauthorized access.
  • Subscription Verification:
    • For subscriptions, you must regularly verify the subscription status with the app store servers.
    • This will allow you to know if a subscription is still active, expired, or cancelled.

5. Testing and Debugging Your IAP Implementation

Thorough testing is crucial to ensure a smooth and reliable IAP experience.

  • Sandbox Environments:
    • Use the platform’s sandbox environments to test your IAP implementation without making real purchases.
    • This allows you to simulate various purchase scenarios and error conditions.
  • Test Users:
    • Create test users with different purchase histories and subscription statuses.
    • Test the restore purchase functionality thoroughly.
  • Error Logging:
    • Implement comprehensive error logging to track and debug any issues that arise during testing.
  • Real-World Testing:
    • Once you have completed sandbox testing, do beta testing with real users. This will show how the system preforms in a real world environment.

6. User Experience and Best Practices

  • Transparency:
    • Clearly communicate the cost and benefits of each IAP.
    • Avoid misleading or deceptive practices.
  • Simplicity:
    • Make the purchase process as simple and intuitive as possible.
    • Minimize the number of steps required to complete a purchase.
  • Customer Support:
    • Provide clear and accessible customer support for IAP-related issues.
    • Respond promptly to user inquiries and resolve any problems quickly.
  • Promotions and Discounts:
    • Offer promotions and discounts to incentivize purchases.
    • Use targeted promotions to reach specific user segments.
  • A/B Testing:
    • Test different pricing strategies, product descriptions, and storefront designs to optimize your IAP performance.
  • Respect User Privacy:
    • Handle user data responsibly and comply with all applicable privacy regulations.
  • Stay Updated:
    • The world of IAP is constantly evolving. Stay up to date on the latest platform updates and best practices.

Conclusion

Implementing in-app purchases can be a complex process, but the potential rewards are significant. By following these guidelines and best practices, you can create a robust and profitable IAP system that enhances your app’s user experience and drives revenue growth. Remember to prioritize user experience, security, and thorough testing to ensure a successful implementation.

If you are looking for reliable mobile app development company in Sydney for your in app purchases implementation , feel free to contact us.

How to Build Your First Mobile App: A Step-by-Step Guide

How to Build Your First Mobile App: A Step-by-Step Guide

In today’s digital world, having a mobile app for your business or idea can be a game-changer. Whether you’re an entrepreneur looking to launch your first app or a business aiming to expand digitally, the process can seem overwhelming. Fortunately, with the right approach, you can turn your app idea into reality. In this guide, we’ll walk you through the essential steps to build your first mobile app and how an app development company in California can help bring your vision to life.

Step 1: Define Your App Idea

The first step in building a mobile app is to define its purpose. Ask yourself:

  • What problem does your app solve?
  • Who is your target audience?
  • What features should it have?

Having clear answers to these questions will help streamline the development process and ensure your app meets user expectations.

Step 2: Conduct Market Research

Understanding your competition and target market is crucial. Research similar apps, analyze their strengths and weaknesses, and identify gaps your app can fill. A reliable mobile app development company in California can assist in conducting thorough market research to validate your idea.

Step 3: Choose the Right Development Approach

There are three main approaches to mobile app development:

  • Native apps: Developed specifically for iOS or Android, offering the best performance.
  • Hybrid apps: A combination of web and native technologies, providing flexibility across platforms.
  • Progressive Web Apps (PWAs): Web-based apps that work like native apps but are accessed through browsers.

Partnering with an experienced app development company California can help determine the best approach for your app.

Step 4: Design the User Interface (UI) and User Experience (UX)

A well-designed app ensures a seamless user experience. Focus on:

  • Intuitive navigation
  • Visually appealing layouts
  • Fast loading speeds
  • Mobile responsiveness

An expert mobile app developer in California can create UI/UX designs that enhance user engagement and satisfaction.

Step 5: Develop and Test Your App

The development phase involves coding your app’s front-end and back-end components. Once the app is developed, rigorous testing is essential to identify and fix bugs. Quality assurance (QA) testing ensures a smooth and error-free experience before launch.

Step 6: Launch and Market Your App

After development and testing, it’s time to launch your app on the App Store (iOS) and Google Play Store (Android). To increase visibility, invest in app marketing strategies like:

  • App Store Optimization (ASO)
  • Social media promotion
  • Influencer partnerships
  • Paid advertising

A reputable app developer in California can also provide post-launch support to optimize your app’s performance and user engagement.

Conclusion

Building a mobile app requires careful planning, the right development approach, and ongoing maintenance. By working with an experienced mobile app development company in California, you can streamline the process and increase your chances of success. If you’re ready to bring your app idea to life, consider partnering with professionals who can guide you through every step of the journey.

Hire Mobile App Developers in Delhi – Step by Step Guide for 2025

app development company in delhi , mobile app development company in delhi , app developer in delhi , app development agency in delhi , app development companies in delhi

The mobile app industry continues to thrive, and hiring skilled developers is crucial for businesses aiming to stay competitive. Delhi, a hub for IT talent, offers numerous opportunities to find expert mobile app developers. This step-by-step guide will help you hire the best mobile app developers in Delhi in 2025.

Step 1: Define Your App Requirements

Before you begin hiring, you need to outline your project requirements. Consider the following:

  • The purpose and features of your app
  • The platform (iOS, Android, or both)
  • The technology stack (React Native, Flutter, Swift, Kotlin, etc.)
  • Budget constraints
  • Timeline for development

A well-defined project scope helps in identifying developers with the right expertise.

Step 2: Choose the Hiring Model

There are multiple ways to hire app developers in Delhi:

  • Freelancers: Ideal for small projects with a limited budget.
  • Dedicated Development Teams: Best suited for startups and businesses that need full-time developers.
  • Outsourcing to an Agency: A good option if you require a complete team for end-to-end app development.
  • In-house Developers: Suitable for companies looking for long-term app maintenance and development.

Step 3: Search for Mobile App Developers

You can find mobile app developers in Delhi through various channels:

  • Job Portals (Naukri, Indeed, LinkedIn, etc.)
  • Freelance Platforms (Upwork, Fiverr, Toptal)
  • Tech Meetups and Conferences
  • Referrals and Networking
  • App Development Companies (like Winklix, which offers expert mobile app developers in Delhi)

Step 4: Evaluate Developers Based on Skills and Experience

When shortlisting candidates, assess their:

  • Technical skills: Proficiency in mobile development frameworks, programming languages, and UI/UX design.
  • Portfolio: Review their past projects to understand their expertise and coding standards.
  • Problem-Solving Ability: Conduct coding tests or give small assignments.
  • Communication Skills: Ensure they can effectively collaborate and understand your business needs.
  • Client Reviews & Testimonials: Check feedback from previous clients.

Step 5: Conduct Interviews and Assess Compatibility

Schedule interviews and discuss the following:

  • Their experience with similar projects
  • Approach to app development and problem-solving
  • Understanding of the latest mobile app trends and security best practices
  • Ability to work within deadlines and under pressure

Step 6: Finalize the Hiring and Sign Contracts

Once you’ve found the right developer or team, proceed with:

  • Negotiating salary or project fees
  • Defining milestones and deliverables
  • Signing NDAs and contracts to ensure confidentiality

Step 7: Kickstart the Development Process

Now that you have hired the right developer, start working on:

  • Wireframing and UI/UX design
  • Frontend and backend development
  • Regular testing and bug fixes
  • Deployment and post-launch support

Conclusion

Hiring mobile app developers in Delhi in 2025 requires a strategic approach. By defining your requirements, choosing the right hiring model, and evaluating candidates based on skills and experience, you can build a successful app that meets your business goals. Whether hiring freelancers, agencies, or in-house developers, Delhi has a vast talent pool to fulfill your app development needs.

Looking for expert mobile app developers in DelhiWinklix offers top-tier professionals to bring your app idea to life. Contact us today to get started!