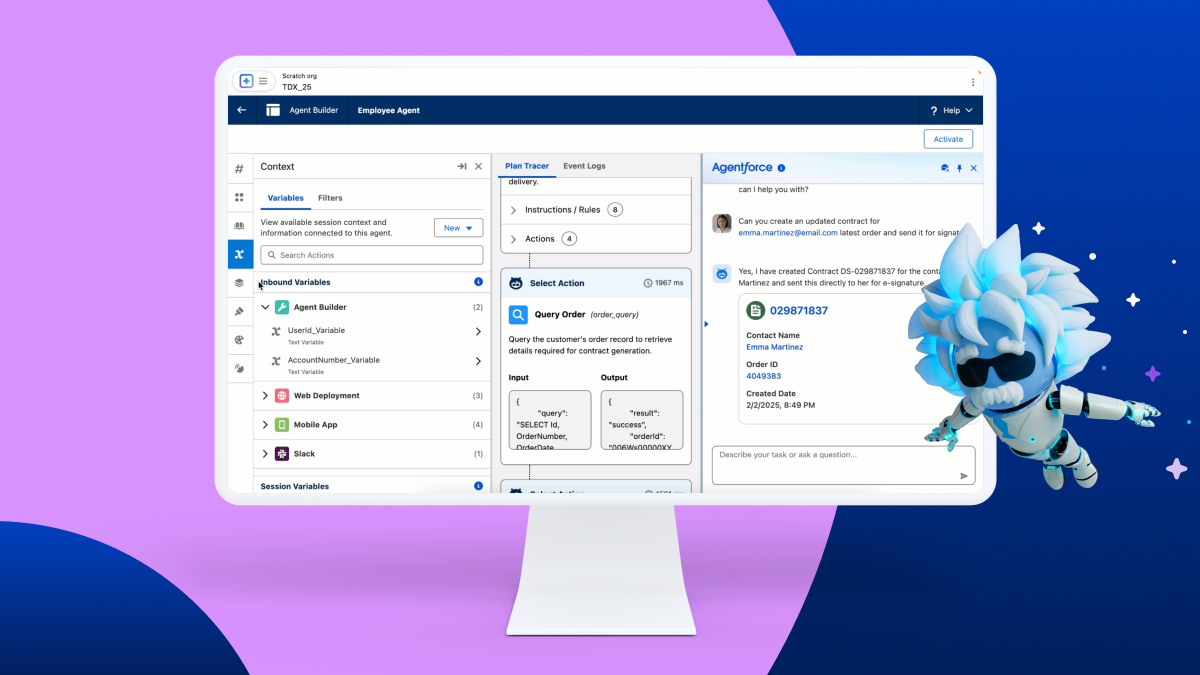
Ready to dive into the powerful world of Salesforce Service Cloud and its agent productivity tools? Want a clean, isolated environment to experiment with features like Omni-Channel, Service Cloud Voice, and more? Then you’ll need an Agentforce-enabled scratch org!
For those unfamiliar, a scratch org is a temporary, disposable Salesforce environment that you can quickly spin up for development, testing, and experimentation. Enabling the “Agentforce” feature within a scratch org unlocks a suite of functionalities designed to empower your service agents.
So, how do you create one of these magical environments? It’s simpler than you might think! Here’s your step-by-step guide:
Prerequisites:
- Salesforce CLI (Command Line Interface) installed and configured: If you haven’t already, head over to the Salesforce Developer documentation and get the CLI set up. It’s your key to interacting with Salesforce DX.
- Dev Hub enabled in your production org: Your Dev Hub is the central org you use to create and manage scratch orgs. Make sure it’s enabled.
- Salesforce DX project: You should have an existing Salesforce DX project. If not, you can easily create one using the CLI command:
sfdx force:project:create --projectname MyServiceProject
Steps to Create Your Agentforce-Enabled Scratch Org:
- Define Your Scratch Org Configuration File: This file, typically named
project-scratch-def.jsonin your project’s config directory, tells Salesforce what features and settings you want in your scratch org. To enable Agentforce, you need to include theServiceCloudVoiceandAgentforcefeatures.Open yourproject-scratch-def.jsonfile (or create one if it doesn’t exist) and add the following:
JSON
{
“orgName”: “My Agentforce Scratch Org”,
“edition”: “Enterprise”,
“features”: [“ServiceCloudVoice”, “Agentforce”],
“settings”: {
“lightningExperienceSettings”: {
“enableS1DesktopEnabled”: true
},
“omniChannelSettings”: {
“enableOmniChannel”: true
}
// Add any other settings you need here
}
}
orgName: Give your scratch org a descriptive name.edition: Enterprise Edition is generally recommended for Service Cloud features.features: This is the crucial part! Including"ServiceCloudVoice"automatically pulls in the necessary dependencies for Agentforce.settings: Here, we’ve enabled Lightning Experience and Omni-Channel, which are often used in conjunction with Agentforce. You can customize this section further based on your specific needs.
2. Create the Scratch Org Using the CLI: Now that you’ve defined your configuration, it’s time to bring your scratch org to life using the Salesforce CLI. Open your terminal or command prompt, navigate to your Salesforce DX project directory, and run the following command:
Bash :
sfdx force:org:create -f config/project-scratch-def.json -s -d 30
sfdx force:org:create: This is the command to create a new scratch org.-f config/project-scratch-def.json: This specifies the configuration file you just created. Adjust the path if your file is located elsewhere.-s: This sets the newly created scratch org as your default org, making it easier to deploy and interact with.-d 30: This sets the duration of the scratch org to 30 days (the maximum). You can adjust this as needed.
3. Authorize Your Dev Hub (If Prompted): If this is your first time creating a scratch org or if your Dev Hub authorization has expired, the CLI will prompt you to authorize it by opening a web browser. Follow the on-screen instructions to log in to your Dev Hub org.
4. Wait for Your Scratch Org to Be Created: Salesforce will now work its magic and provision your new scratch org. This process might take a few minutes. Keep an eye on your terminal for confirmation messages.
5. Open Your New Scratch Org: Once the scratch org is successfully created, you can open it directly from the CLI using the following command:
Bash :
sfdx force:org:open
This will open your new Agentforce-enabled scratch org in your default web browser.
Next Steps:
Congratulations! You now have a fresh scratch org ready for you to explore the power of Agentforce. Here are some things you can do next:
- Explore Service Cloud Setup: Navigate to Setup and explore the Service Cloud features.
- Set up Omni-Channel: Configure routing rules, queues, and presence statuses.
- Investigate Service Cloud Voice: If you have the necessary licenses, start setting up your call center.
- Deploy Metadata: If you have existing Service Cloud configurations, use the CLI to deploy them to your new scratch org.
- Develop and Test: Build and test your custom Service Cloud solutions in this isolated environment.
Creating an Salesforce Agentforce-enabled scratch org is a fantastic way to get hands-on experience with Salesforce’s robust service agent tools without impacting your production environment. So go ahead, spin up a new org, and unlock the full potential of your Service Cloud! Happy developing!


