
If you want to design a functional Mobile app interface, here in this article we will help you in understanding it. Let’s get started with the designs. It is important to understand about the UI designs as it is hugely important. Let’s discuss the design guide to understand the topic i a better way.
UI Design Principles
When used together, design principles make the UI designer’s job much easier. They remove the guesswork and make the work more predictable and therefore is easier to use.
Before moving further lets quincy discuss six of the most common interface design principles-
The Structure Principle
Design should organise the stoner interface purposefully, in meaningful and useful ways grounded on clear, harmonious models that are apparent and recognizable to druggies, putting affiliated effects together and separating unconnected effects, secerning different effects and making analogous effects act one another. The structure principle is concerned with overall stoner interface armature.
The Simplicity Principle
The design should make simple, common tasks easy, communicating easily and simply in the stoner’s own language, and furnishing good lanes that are meaningfully related to longer procedures.
The Visibility Principle
The design should make all demanded options and accoutrements for a given task visible without abstracting the stoner with extraneous or spare information. Good designs don’t overwhelm users with druthers or confuse them with gratuitous information.
The Feedback Principle
The design should keep users informed of conduct or interpretations, changes of state or condition, and crimes or exceptions that are applicable and of interest to the stoner through clear, terse, and unequivocal language familiar to druggies.
The Tolerance Principle
The design should be flexible and tolerant, reducing the cost of miscalculations and abuse by allowing death and redoing, while also precluding crimes wherever possible by permitting varied inputs and sequences and by interpreting all reasonable conduct.
The Reuse Principle
The design should exercise internal and external factors and actions, maintaining thickness with purpose rather than simply arbitrary thickness, therefore reducing the need for druggies to reevaluate and flashback.
The Mobile App Design Process: What are we Building?
Before creating a mobile app we need to know what we are actually designing. We just need to communicate the overall functions of the app. After giving it some allowed , then are the main functions we ’ve linked
Announcements – We ’ll need to push the new words to the stoner via an announcement, so we ’ll need an onboarding screen that asks the stoner to allow drive announcements.
Home Screen – The stoner should be suitable to buy multiple different language assignments, so we ’ll need a home screen where they can buy these assignments and spark being bones .
Tracking Progress – The stoner should be suitable to see the progress of each assignment that’s presently actuated.
Viewing an Assignment – the stoner should be suitable to see a list of the words they ’ve learned so far in a given assignment.
Viewing a Word – The stoner should be suitable to view words they ’ve formerly learned. This should include the description, image reference, the part of speech, audio pronunciation and link to conjugation.
There ’ll clearly be a lot further to this app, but this list works well for the compass of this tutorial.
How do we Build an App?
To get started, we ’ll use pencil and paper and start sketching out these colourful app functions. Once these delineations are perfected, we ’ll move over to Sketch and start breathing life into them.
Sketch is the perfect tool for the job because it’s made for designing stoner interfaces. It’s also got some nifty erected- in tools that help you set up your mobile designs and exercise them on your device. More on that latterly.
Sketching Our App
The first thing we need is a simple flowchart so we can understand how the stoner makes their way through the software.
This helps us understand how the different defences of our app interact with each other. Next we ’ll work on sketching out each individual screen
From then, we ’re ready to fire over Sketch and start bringing our designs to life!
Onboarding
The first thing we need to do is make sure the stoner allows us to shoot drive announcements to them. This is how we ’ll serve up new words to them every day.
Let’s launch putting these stoner interface design principles to work. It’s easy for onboarding to feel like work, so we want to make sure the process is as simple and light as possible.
I took a quick look at some onboarding teardowns to see how other apps handle asking the stoner to enable drive announcements. I noticed that Foursquare is really smart then.
Occasionally druggies can be caught off guard when asked to enable announcements or to use their position. So Foursquare overlays the announcement bubble on top of instructions which explain why they need to enable the announcement.
I really like the idea of giving the stoner redundant information before they accept drive announcements. This keeps inline with the common design principle of keeping the druggies in the circle by making sure they understand why they’re giving me these warrants.
When a new stoner launches the app, the first thing we ’ll show them is a screen which explains why we need authorization to push announcements to them.
Let’s get our hands dirty. First thing we ’ll need to do is draw up a quick sketch of this screen. Starting on pencil and paper is pivotal since the medium is so forgiving. The more you can figure out in this stage before pushing real pixels around, the better.
Now we’ve a good base to start designing from. From then we ’ll fire over Sketch, select the Artboard tool( A), and use the iPhone 6 preset in the inspector pane to the right. To add common iOS rudiments like the status bar, we ’ll head to train>> New From Template>> iOS UI Design. This train contains all of the common iOS rudiments you ’ll need frequently.
Now, let’s launch designing!
When the stoner hits “ Enable announcements ”, we ’ll detector this native authorization dialog box
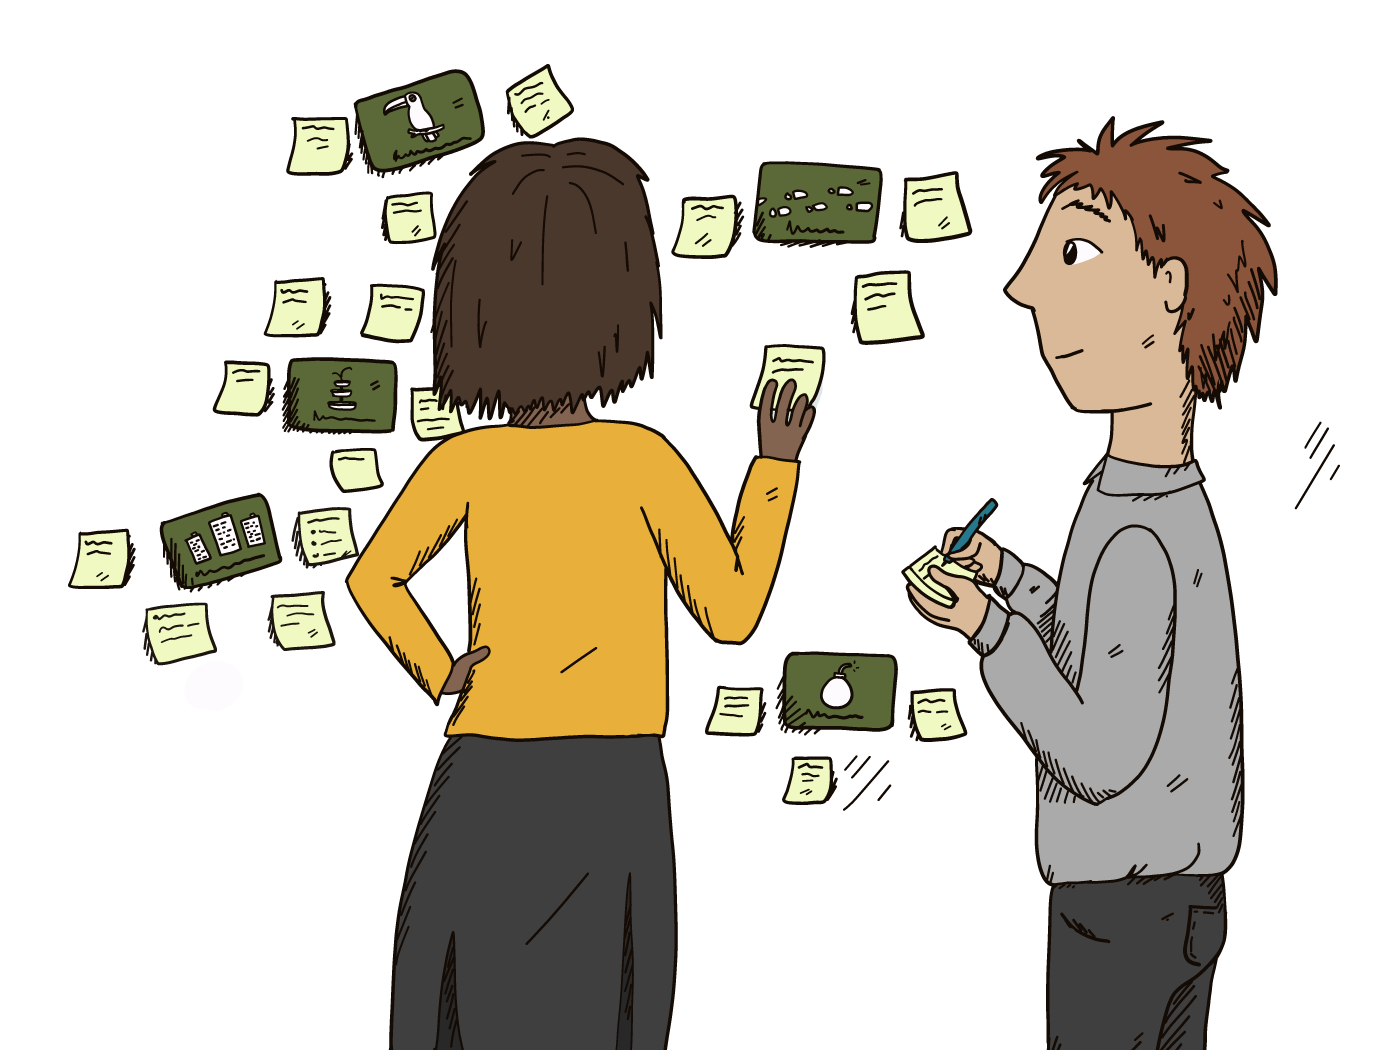
“ Business owners know about the significance of having a mobile presence and we ’ve seen how the demand of app controversy has been adding to our point.
Mobile operation has surpassed other device operations in 2015. Also, Google started using mobile usability as a rank, so if organic hunt business is a major source of business for their business, contrivers need to have a mobile-first mindset.
To impress a new customer, it’s important that contrivers produce a brand style companion for their guests that includes both the look and the voice that will insure effective and harmonious branding across all media. This will lead to more effective marketing collateral affair and a more unified brand communication for their guests.
The first step is to estimate their means to determine if they need a refresh grounded on current design trends( e.g. flat design, simplicity, etc). As an app developer, do n’t forget that the right balance between design and functionality is crucial. ”
A developer gives feedback on some mobile app UI designs
Home Screen
Once a stoner accepts drive announcements, we ’ll shoot them directly to their home screen. This would be a great time to give them an introductory walkthrough and explain some of the mechanics of the app, but we ’ll save that for another day.
Actually, if we stick to the common stoner interface design principles, we may not need a walkthrough at all. The app should be intuitive enough to understand without too important hand holding.
The main information we want to show on the home screen is
We want an element of gamification, so we ’ll show their stats nice and big at the top of the home screen.
Below the stats, we ’ll show their current assignments, their progress, and locked assignments. We want to make sure that it’s egregious that these assignments are unapproachable. This will allure the stoner to unleash them every time they visit the home screen.
I want the app to be veritably visual so I ’m going to try and incorporate nice photography into each runner.
Since this is the home screen, the stoner should be suitable to go anywhere from then. To begin with, our app will offer some introductory stoner settings, so we ’ll make sure there’s a way to get to the settings screen from this home screen.
Now that we know what we need to design, we ’ll throw together a quick sketch so we can get an idea of how we want to lay these rudiments out visually without having to do too important work.
Now we ’re in a great position to fire over Sketch and start designing the rudiments of our home screen. the utmost of the work has formerly been done, so it’s just a matter of putting each element where it belongs and adding a splash of colour.
With the home screen complete, the stoner now has a place to track their overall progress, as well as the progress of each individual assignment, buy new assignments and tweak their stoner settings. Nice!
View A Assignment
So, what happens when a stoner clicks one of these assignments? I ’m glad you asked! Now we ’re going to put together an assignment runner where the stoner can view each word that’s been revealed to them.
We also need to give the stoner the capability to disable an assignment since they may want to break if they’ve too many assignments enabled at a time.
So, that’s what we need on this screen
Assignment name
Visual representation of the assignment( image/ icon)
List of words that have been revealed
From then we ’re going to use the same process as ahead. First we ’ll roughly sketch out the runner with pencil and paper, also we ’ll produce the high- dedication interpretation in Sketch. Formerly we’ve a good idea of what it’s we ’re structure.
We want to stick to the principles of good structure and scale then, so we ’ll start with the section name/ progress at the top, also the words below. We also want to start incorporating the exercise principle, which states that common factors should be reused in order to produce thickness. On the home screen we ’re using these handy little circles to indicate progress, so we ’ll use those same rudiments to indicate progress on this screen.
Now that we ’ve sketched out our assignment screen, we’ve everything we need to start putting some pixels together and creating a high- dedication design
We are also clinging to a common iOS/ OSX design pattern then. Notice how the vertical line that separates each word is cut off just before it meets the left edge? This is a subtle cue that druggies have learned when interacting with the operating system. It implies that clicking this menu item will reveal a deeper menu from the right.
Subtle cues like this are monstrously important and understanding them makes the developer’s job just a bit easier.
Then’s another tip, this time from Neil Turner of UX for the Masses In theirMobile UX Design Principles
“ suppose about what it’s your druggies will be trying to negotiate and concentrate on the crucial stoner pretensions that you have linked( immaculately through stoner exploration). Do n’t get distracted by trying to design and make features that are veritably doubtful to be used on a mobile anyway. ”
View A Word
Still, the deepest position a stoner can go in this first replication is viewing a word, If you look back to our original inflow map. That’s what we want to include on this screen
- A print which represents the word
- The word itself
- The part of speech( verb, noun,etc.)
- The pronunciation
- The description of the word in English
- An audio recap of the word
- Links to more coffers like conjugation
I want this app to be veritably visual, so I want to start with the image front and centre, and also work our way down the scale in order of significance.
As always, we ’ll start by putting the pencil to the paper in order to get an original idea of how we want to lay out all of these UI rudiments.
We ’ve formerly talked about the exercise principle, and it’ll become more and more important as we see the colourful screen of the app. We need to make sure the sources are harmonious with all of the other defences of our app, as well as buttons and links. Since we ’re using blue as our accentuation colour, we ’ll want to use that then too.
Stupendous!
Testing Your Designs
At this point we ’ve got some well-conditioned study out designs in our Sketch train. Nice! But how can we make sure that everything looks and feels correct on a mobile device without actually erecting the app? This is where Sketch Mirror comes by.
For times, bluffing mobile designs on your device was delicate to say the least. At first you ’d principally just shoot a png or a jpeg to your phone and pull that up. This works but is time consuming and hamstrung. Products like Skala exercise made it possible to exercise your Photoshop designs on your mobile device, but setting this tool up was delicate and it did n’t always work.
Luckily, Sketch has this capability erected right in! All you have to do is download Sketch Mirror from the app store, make sure your device and computer are both on the same network and fire over Sketch Mirror on your device. also just click “ Mirror ” to the top right of the Sketch app and select your mobile device.
Presto! Now each runner and artboard in your Sketch train can be fluently viewed on your phone and will incontinently modernise as soon as the commodity in your Sketch train is changed.
Designing a Mobile App Next Steps
By sticking with some introductory UI design principles as well as an introductory design process, we were able to snappily distil our ideas into solid, usable UI designs.
Still, take a look at this in- depth post I wrote about how to become a UI developer, If you ’re not relatively ready yet. It talks about what it’s like to be a UI developer and will help you decide if a career in UI design is the right path for you.
What You Should Do Now
Get a hands- on preface to UI design and design your first app screen with a free, tone- paced UI Design Short Course. Contact our team for Mobile app development.