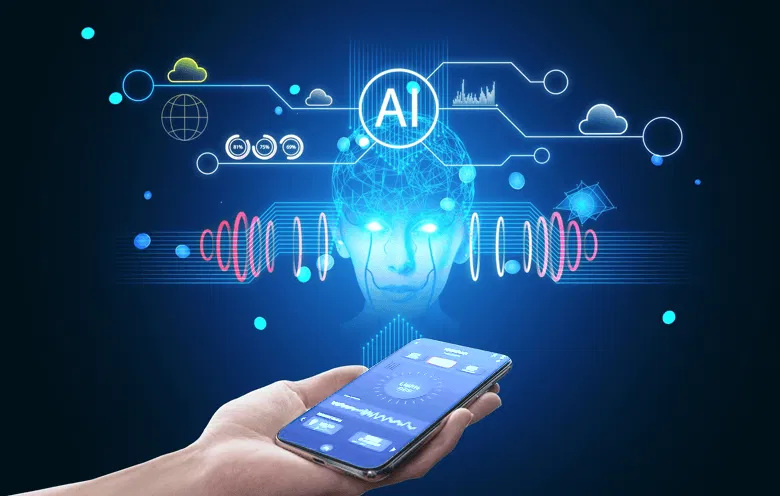

Everyone wants smarter, more intuitive apps in 2025. The real engine behind all this? Artificial intelligence. If you’re teaming up with a mobile app development company in Sydney, AI isn’t just a cool feature anymore — it’s the backbone of any serious digital project. Whether you’re running a startup or leading a big company, working with developers who know AI means your app can personalize, automate, and analyze like never before. That’s how you keep users hooked and your business moving forward.
- Why AI is Changing the Game for Mobile Apps
AI isn’t just a buzzword. It’s changing the way apps learn and react to people. Sydney’s top app developers are already using machine learning, predictive analytics, and natural language processing to make apps feel personal and responsive.
Think about it: AI chatbots that actually help, not frustrate. Recommendation engines that really get your taste. The best app creators in Sydney are making apps smarter and more human, every step of the way.
- How AI Makes Apps Better for Users
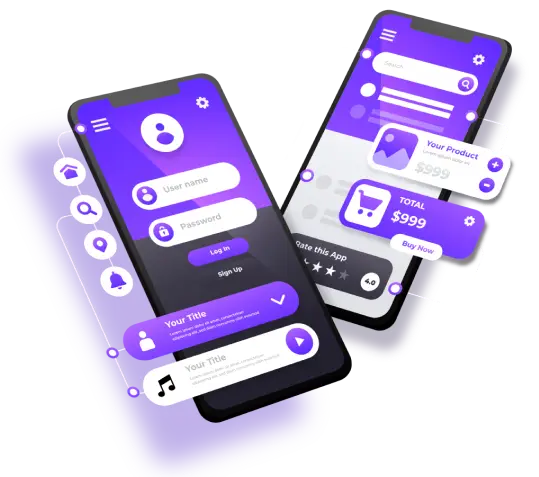
Ask any good Sydney developer, and they’ll tell you—user experience makes or breaks an app. AI lets them dig into user data, spot patterns, and serve up features people actually want.
Some real examples:
Apps that shift their layout around your habits.
Voice commands for when you’re on the go or need accessibility.
Smart text prediction that speeds things up.
Analytics that track how people move through your app in real time.
With AI, apps aren’t just tools—they’re companions that seem to know what you need, right when you need it.
- What Businesses Get from AI in Apps
If you’re running a business, teaming up with a Sydney app developer who knows AI pays off in a bunch of ways:
Your customers stay engaged because the app feels personal.
Automation helps you save time and money.
You make better decisions thanks to real-time data.
AI-powered testing keeps your app running smoothly.
In short, AI-driven apps help companies grow faster and smarter as everything goes digital.
- The Hurdles with AI-Powered Apps
Of course, it’s not all smooth sailing. Using AI means you have to handle tricky stuff like data privacy, making sure everything plays well together, and training AI models so they actually work. That’s where a skilled Sydney developer makes a difference—they build with secure APIs, ethical frameworks, and sharp performance so you’re not just chasing trends, you’re building something solid.
- What’s Next for AI and Mobile Apps in Sydney
Looking ahead, the real magic happens where AI and mobile tech meet. Sydney’s best app developers are pushing into things like AI-driven design, emotion recognition, and analytics that predict what users want before they even ask. By 2025, expect apps that automate smartly, personalize on a whole new level, and adapt in real time. That’s the new standard.
Conclusion
Tech keeps moving, and AI isn’t going anywhere. If you want apps that stand out now and in the future, you need a Sydney mobile app developer who gets AI inside and out. With the right partner, you’ll turn raw data into real intelligence—and ideas into digital products people remember.